
Tuesday, 5 April 2011
Moviestorm Session 16 + 17
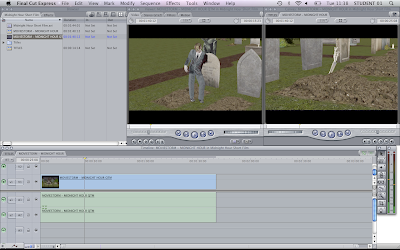
In session 16 + 17 I imported the png files of my title sequence into Final Cut. I then put the shots into order and using the pen tool and the elastic bands I started to put fades into the title sequence. Jack finished the first section of our Midnight Hour short film and we then imported the shots into Final Cut put then together into a film and exported it again into a Quicktime Movie and imported it again into Final Cut. We will do this to every section that Jack has completed.
Friday, 1 April 2011
Moviestorm Session 13 + 14 + 15
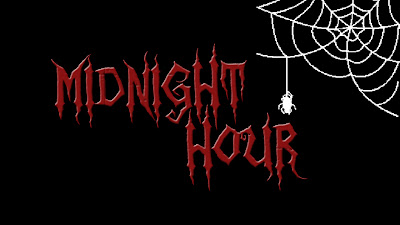
In session 13 + 14 I started working on the title cards. First I went into photoshop and I opened a new project with the width 1280 pixels and the height 720 pixels and the resolution to 300 dpi. Once a blank picture came up I made a new layer and decided to have the background as black. I then I used the font that I downloaded and chosen in session 12 and created a new layer for the words "Midnight" "Hour" I wanted to make the font look more bold and 3D so I went into google and searched how to make 3D text. I came across this website which helped me step by step to creating my 3D text, http://www.depiction.net/tutorials/photoshop/3dtext.php
Once I went through the steps I wanted to stop at step 3 as I like the effect that it gave onto the font. I went through the steps again for the text "Hour".
I wanted to add a image onto the title so I went into google and I searched for "cobwebs" and I then chose a image that I thought would work well in the title.
As the image was not mine I went into photoshop and changed it abit so it would go with my title. Firstly I wanted the image to be white not black as you wouldn't be able to see it in the title card. So I went to Image > Adjustments > Invert. I then wanted to image to be flipped, Image > Rotate Canvas > Flip Canvas Horizontal. I then selected the image and put it into the title card I moved everything around where I thought it should go.
I then clicked on the eye's and just showed the first layer and I went to Save for Web & Devices > PNG 24 > Save.

Subscribe to:
Posts (Atom)